Crimps
 Crimps (also referred to as ‘French Crimps’) are tiny circular pieces of metal that can be threaded onto your stringing material, then squashed together to create a grip that will hold beads in place or secure a clasp to the end of your work.

For some of the newer bead stringing materials, like Tiger Tail and Beadalon, you will have to use a crimp to secure your clasp. For other beading materials, you may have different options. I find crimps are most useful when working with metallic based stringing materials, rather than synthetic or cotton threads.
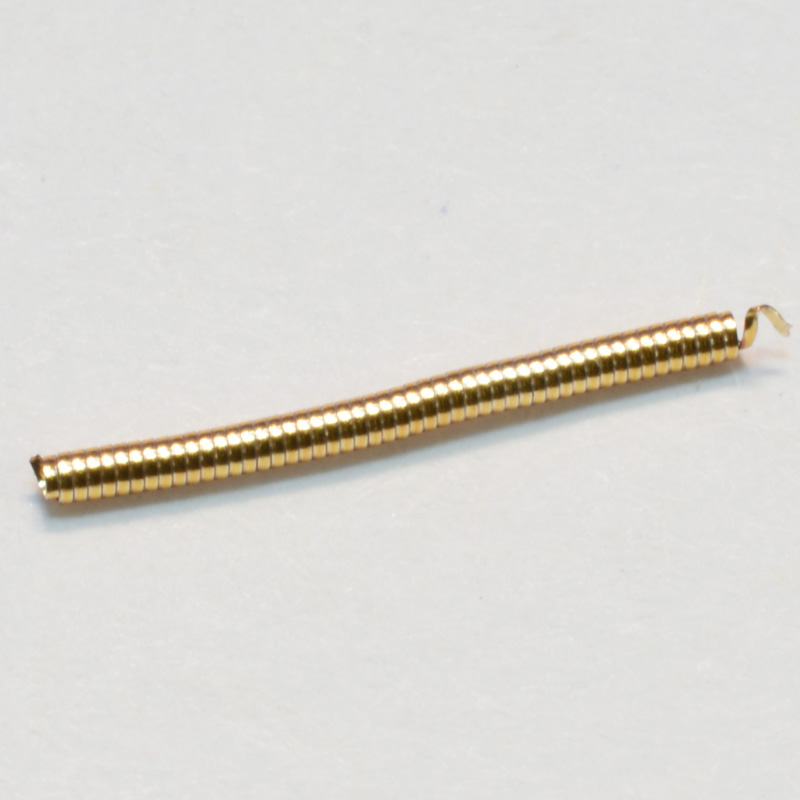
Crimps are available in different colours of metal, so you can match the crimp to the other metal components in your design.
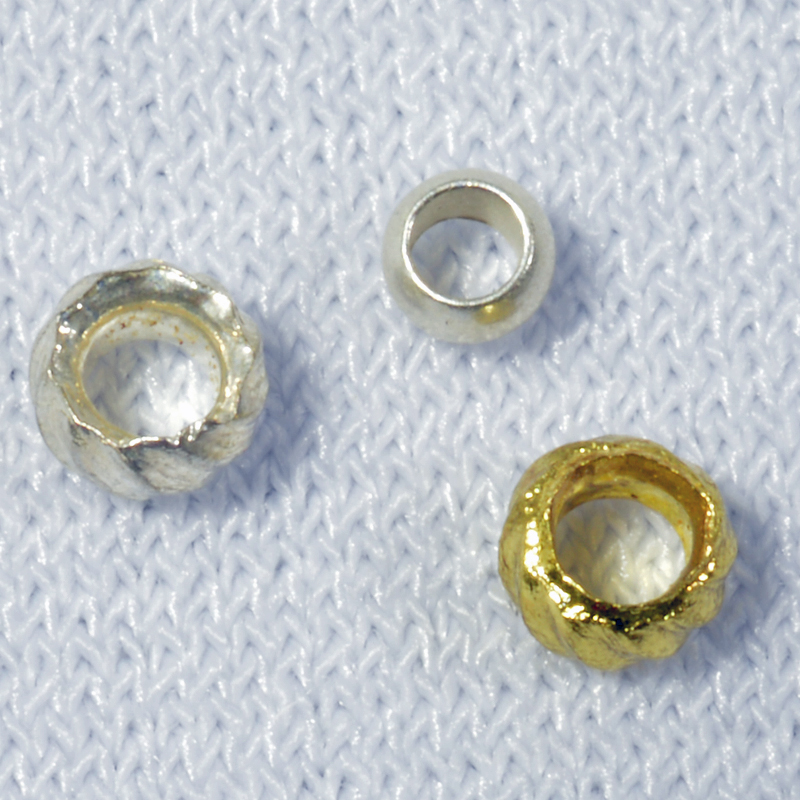
Crimps are also available in different sizes, so if you are using the crimp to fasten components on a fine or lightweight stringing material, then you can use a smaller crimp to ensure that it grips properly. Use larger crimps for thicker stringing materials. I like to keep a range of crimps in different sizes so that I know I will have the right size for whatever project I am making. Before you use the crimp, check that you can pass your stringing material through it twice (this will become clear below) – if you can do this and this fills the crimp reasonably well, then this is the correct size crimp for you to use.
To add a crimp you will need a special tool – crimping pliers. These are widely available in bead shops and craft shops. If you look closely at the teeth on these pliers, you will see that they have two sets of ‘grooves’. The inner set (nearest the handles) has a double groove on one edge and a single groove opposite, on the other edge. This is used to squash the crimp into place. The outer set (nearest the point) has a single groove on both edges. This is used to ‘shape’ the crimp into a round lump so that it has a neat finish.
Securing a Crimp
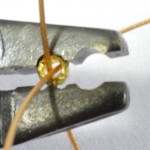
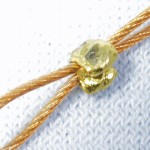
Slide your crimp onto the threading material and move it into place. Align the inner set (double groove) of the crimping pliers on either side of the crimp and squeeze them so that the crimp is squashed into place. If you have two pieces of thread through the crimp, then you will see at this point that the two strands have been pushed to either side of the crimp and it is flat in the middle of them, so your crimp should now be a long, flat-ish shape. Turn the crimp ninety degrees, so that the longer side is vertical. Place this between the outer set of grooves on the pliers and squeeze them together. This should force the crimp to fold in half so that it now appears to be a neat round piece of metal, securely holding the threading material in place.
Using Crimps to Secure a Clasp

Make sure your crimp sits as close as possible to the clasp
First end: take your stringing material and add a crimp, add your clasp and then pass the end of the material through the crimp again. Make sure the crimp is sat as close to the clasp as possible and that the end of the thread is sitting just beyond the crimp, with the main body of your thread ready for stringing. When you are happy with the position, secure the crimp in place.
Second end: string all your beads and when you have the correct length (for a necklace or bracelet) and are ready to add the clasp to the other end, pass your thread through a crimp, through the clasp and then through the crimp again. This time, slide the crimp as close to the beads as possible, pull the thread tight so that the clasp is pulled in close to the crimp. When you are happy with the position, secure the crimp. If you can, thread the stringing material through the first few beads so that it is extending away from the crimp, then cut it off. If your beads have too small holes to accommodate two passes of threading material, then cut the thread as close to the crimp as possible, so that it doesn’t show.
If your crimp is very visible, you can hide it under a crimp cover that is added over the crimp after the jewellery has been assembled. Alternatively, use the crimp inside a calotte and you will be able to attach the clasp to the calotte, so this may be an easier way of ensuring that your crimp sits close enough to the clasp to ensure a professional finish.
Using Crimps to Secure Beads
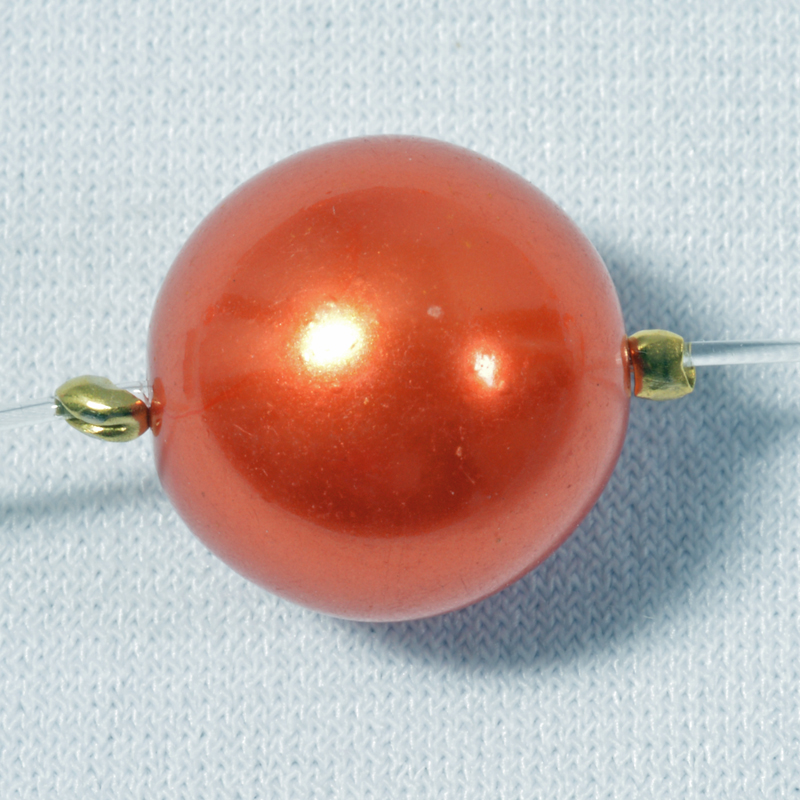
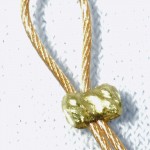
Crimps can secure a single bead on illusion thread
Crimps can also be used to hold beads in place. This is the technique that is used for making ‘illusion’ necklaces where it appears that single beads are ‘floating’ on an invisible thread, so when worn, it is the beads that attract attention and not the stringing material.
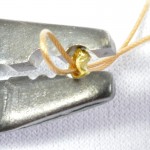
Begin by threading a crimp onto the string and moving it to the position where you want the bead to sit. Secure the crimp in place. NB: this crimp will have a single thread through it.
Next slide the bead right up to the crimp. Make sure that the hole in the bead is small enough that the crimp isn’t going to slide through it. If the hole is too big, then use a tiny seed bead to sit between the crimp and the main bead.
Finally, thread a crimp and slide it along to sit on the other side of your bead, moving it as close to the bead as possible. Secure it in place and your bead should be held in one spot.
Using Crimps to Attach Multiple Strands of Beads

Using a crimp to secure multiple strands of beads
If you have threaded two or three separate strings with beads and are wondering how to join them together to secure them onto a single clasp, then you can just use crimps. Thread the very ends of all your strands through one crimp and position it about half an inch (1.5cm) from the very ends of your thread. Secure it in place, making sure that all the ends of thread are secure. Take a second crimp and add this on the very end, moving it fairly close to your first crimp. Secure it in place and you have two crimps holding the threads together, so they should be quite safe. Place this little crimp section inside a calotte and use that to attach the clasp.
You can download a free tutorial on using crimps here.